
Getting Started With ThinkAutomation
ThinkAutomation is a business process automation (BPA) solution designed to automate on-premises and cloud-based business processes that are triggered from incoming messages. Messages can be received by email, database updates, webhooks, web forms, SMS messages, Twitter, Teams messages, documents, local files and other messages sources. ThinkAutomation can run on-premises or in the cloud, reducing overall costs compared to hosted automation solutions.
When a message is received ThinkAutomation executes one or more Automations. Automations are created using an easy to use drag-and-drop interface to automate simple or complex processes. Automations can perform many Actions that use data parsed and extracted from the incoming message. Actions include updating databases, CRM systems and cloud services, sending outgoing emails, Teams & SMS messages, document processing, custom scripting, integration and much more. Over 100 built-in actions are included, plus ThinkAutomation is extensible with Custom Actions. Download Custom Actions from our on-line library or create your own.
ThinkAutomation stores each processed message in the Message Store. The Message Store contains a copy of each message processed along with a log of Automation actions. You can view the Message Store using the ThinkAutomation Studio.
The ThinkAutomation Studio is used to setup your Message Sources and design your Automations. Multiple Message Sources and Automations can be grouped into a Solution. Any number of Solutions can be created. Once you have configured your Message Sources and Automations the ThinkAutomation Studio can be closed. Messages are processed in the background by the ThinkAutomation Services.
Visit: www.ThinkAutomation.com for more information and to download.
Requirements
ThinkAutomation requires Windows 10/11 (64bit) or Windows Server (2016 or higher) with 1GB of free disk space and 8GB or higher recommended ram. It can run on on-premise or cloud hosted virtual machines.
Installation
Download the ThinkAutomation.exe setup program (125mb). Run the setup to start the installation:
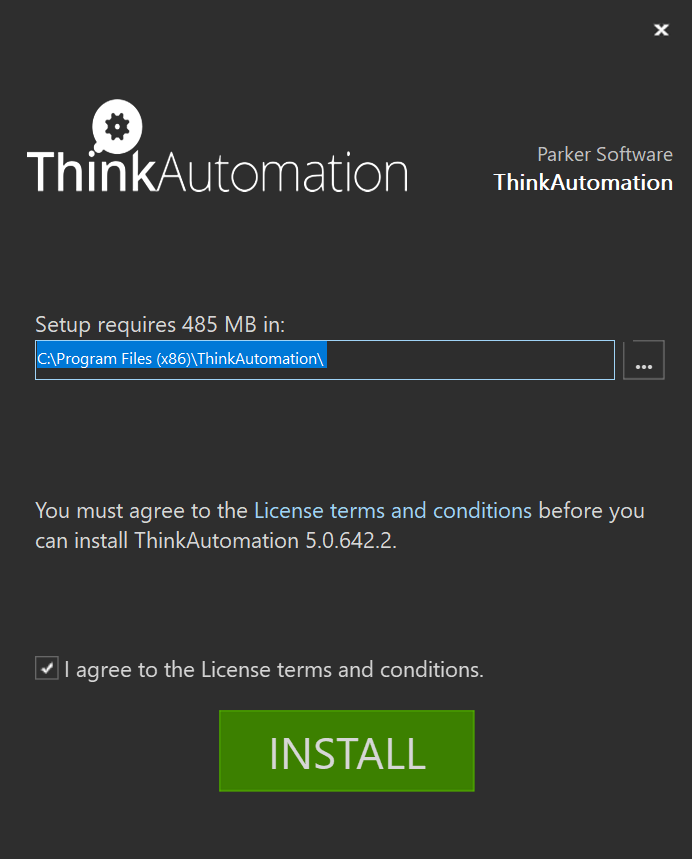
Click the I agree to the License terms and conditions option and then click the Install button to start the installation.
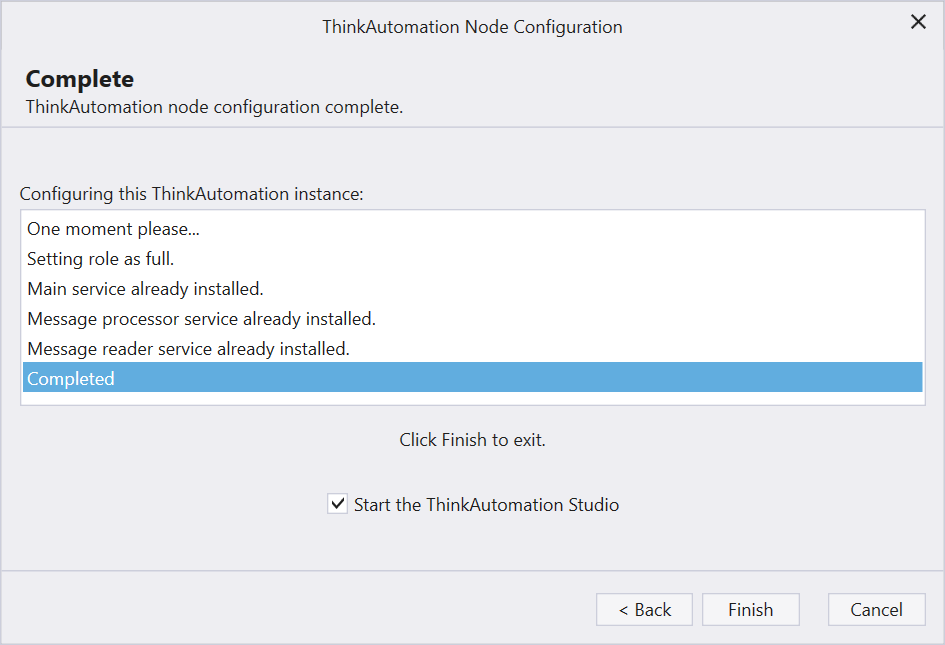
After a few minutes the installation will complete:
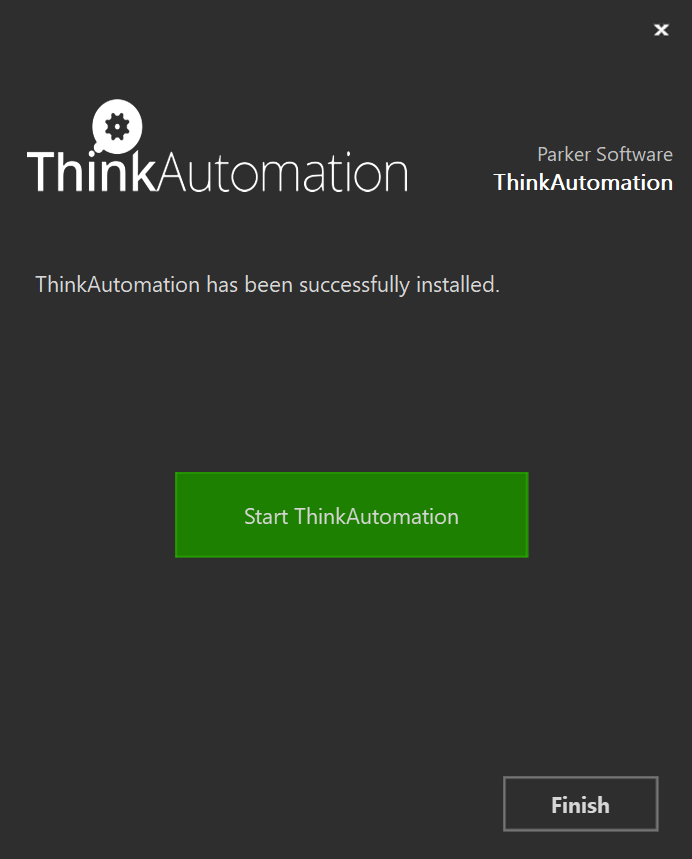
Click the Start ThinkAutomation button to start ThinkAutomation now, or click Finish to close the setup without starting ThinkAutomation. You can start ThinkAutomation later by running the ThinkAutomation Studio from your Windows Start menu.
First Time Configuration
There are a number of configuration steps to go through when you run ThinkAutomation for the first time.
1: Node Configuration
The Node Configuration Wizard will automatically start when ThinkAutomation is first run.
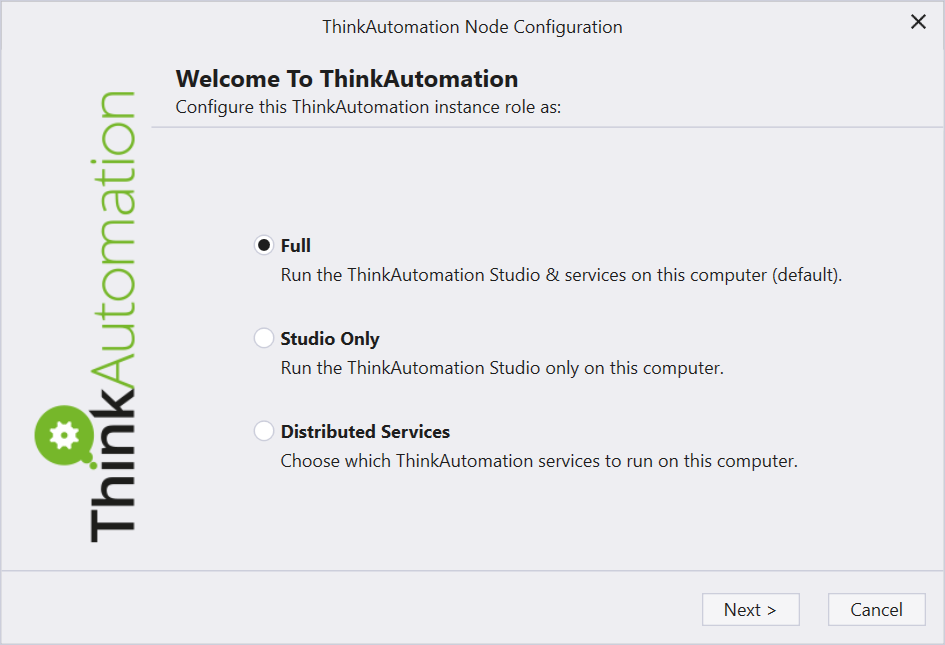
If you are evaluating ThinkAutomation or this computer will be your main ThinkAutomation computer, select Full (the default) and click Next >.
The Wizard will configure the ThinkAutomation services. Click Finish to close the Node Configuration Wizard.
The ThinkAutomation Studio will then start.
2: Registering
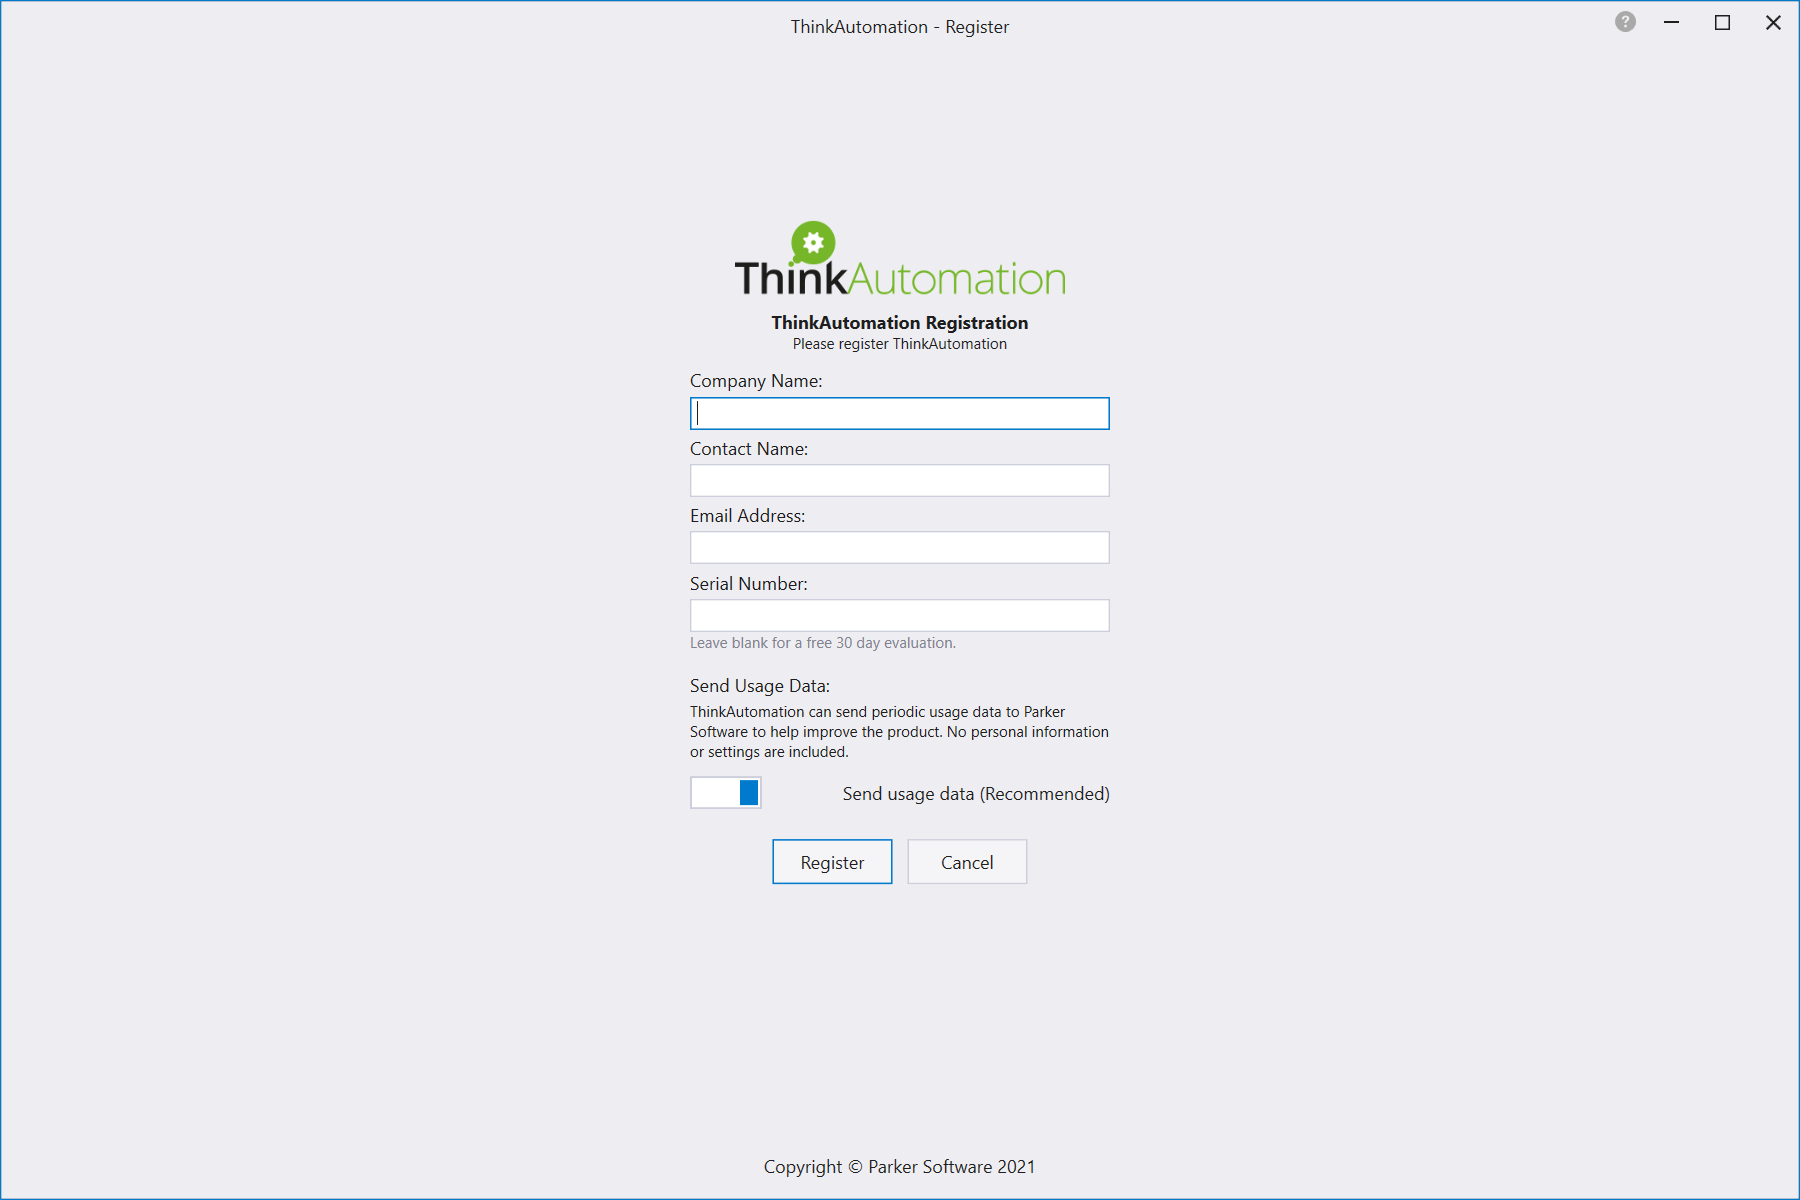
To register your copy, enter your Company Name, Contact Name & Email Address. If you are evaluating ThinkAutomation you can leave the Serial Number blank.
Click the Register button to complete the registration.
3: Setting Your Admin Password
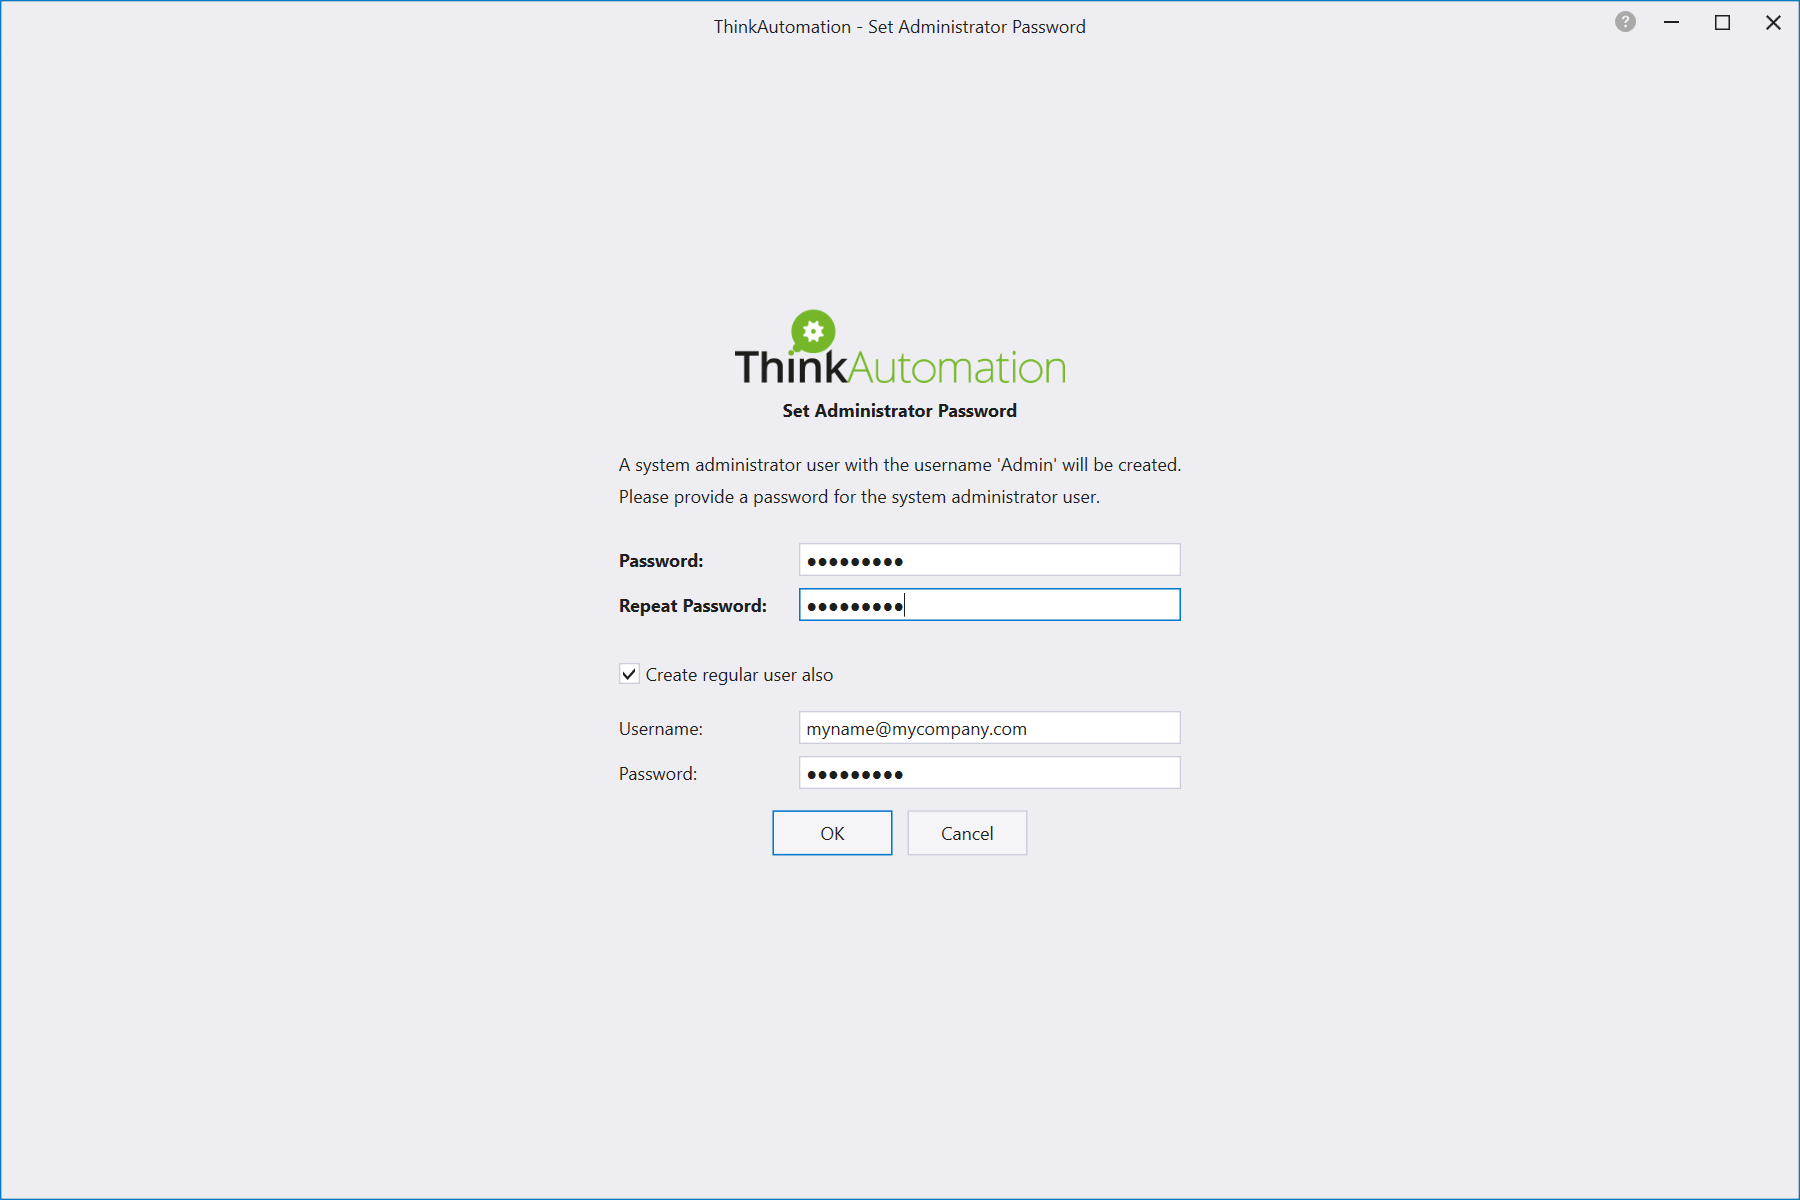
You must create a Password which you will use when you login to the ThinkAutomation Studio. Enter the password again in the Repeat Password box.
A username 'Admin' will be created with your specified password. If the Create regular user also option is enabled, then an addition user will also be created.
4: Configuring The Message Store
ThinkAutomation stores each processed message in the Message Store. The Message Store contains a copy of each message processed along with a log of Automation actions. You can view the Message Store using the ThinkAutomation Studio. The Message Store Database must be created when ThinkAutomation is run for the first time.
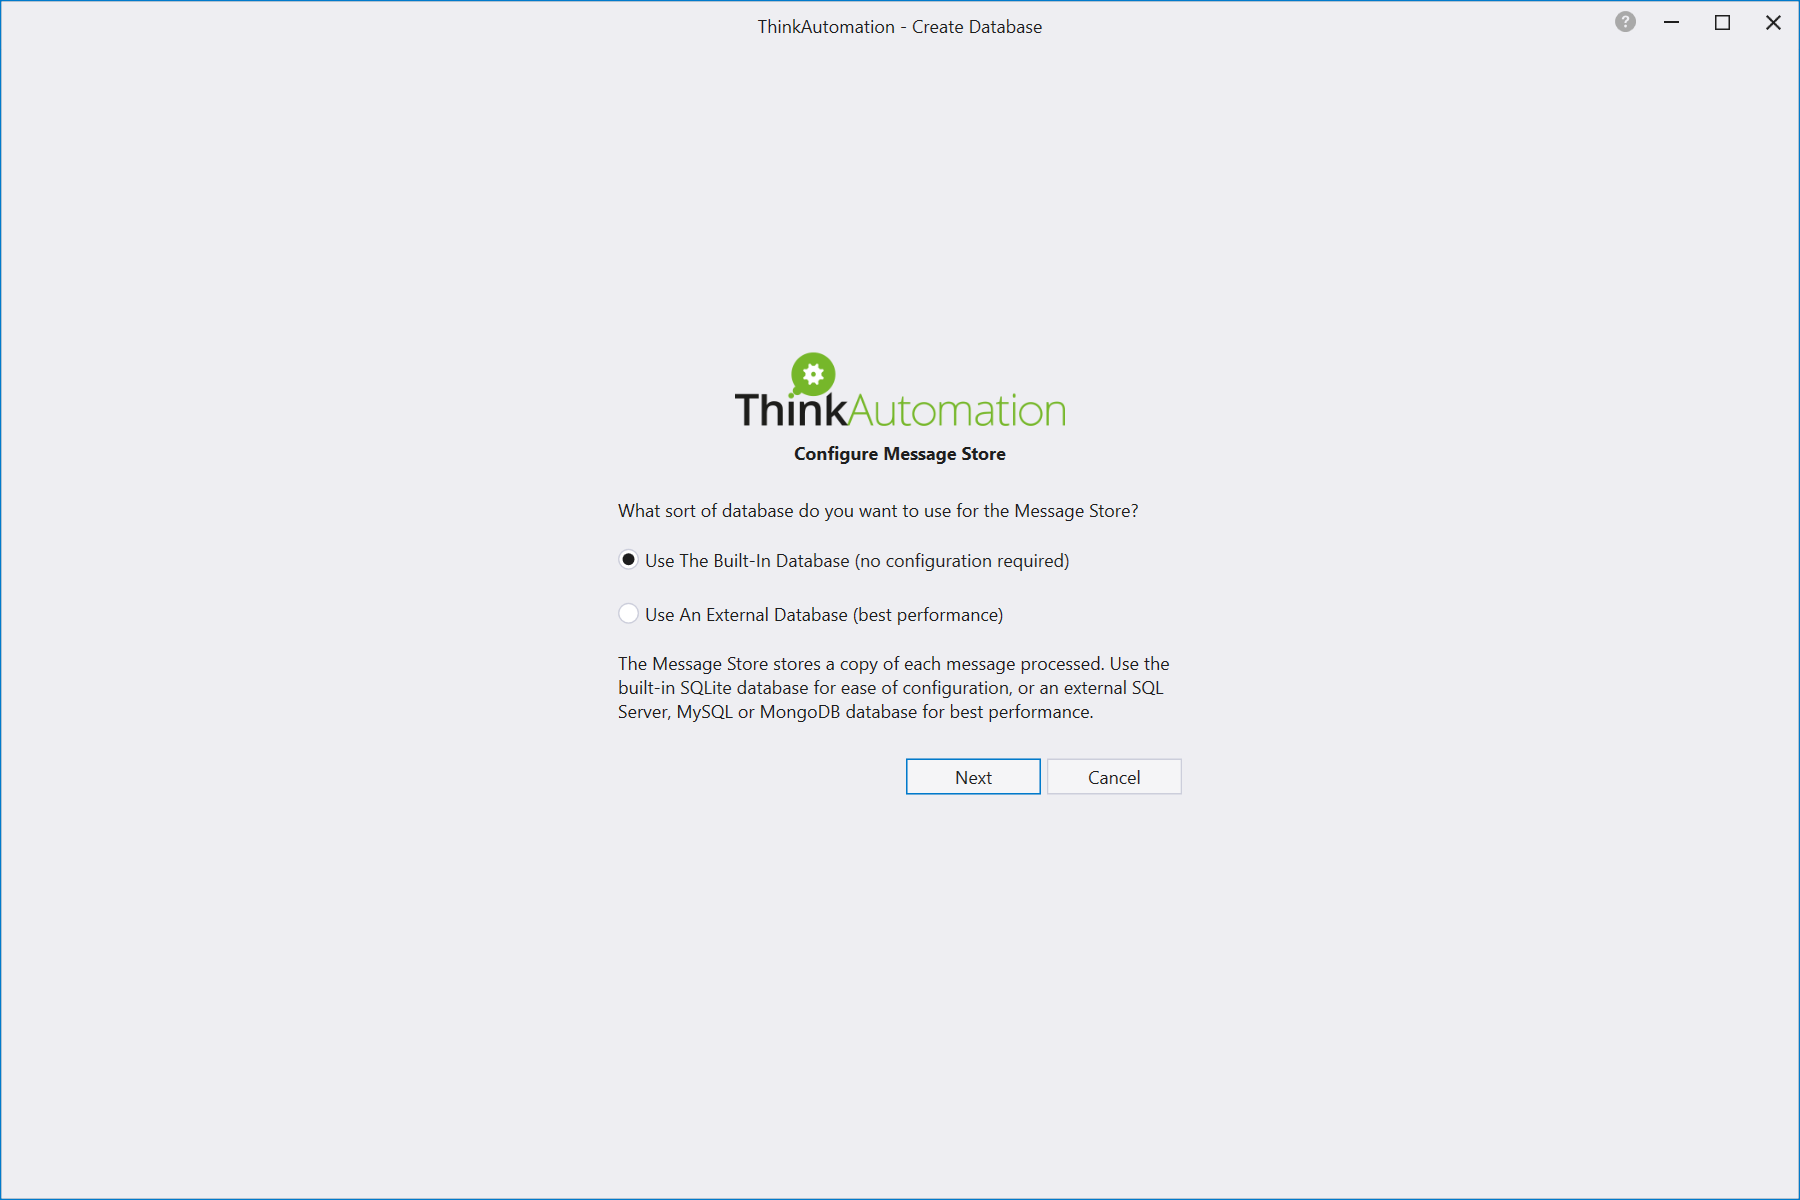
You can use the built-in SQLite database for the Message Store, or you can use an external Microsoft SQL Server, MySQL or MongoDB database.
The built-in SQLite database provides the simplest configuration and will work on any computer without any additional software. Using an external database may provide better performance but requires additional configuration.
Select the Use The Built-In Database option to use the built-in database.
Select the Use An External Database option to use Microsoft SQL Server (2012 or higher), MySQL (5.7 or higher) or MongoDB.
Click Next.
If you selected the built-in database option the configuration will complete and you can then login to the ThinkAutomation Studio.
If you selected to use an external database then you must then enter the connection details:
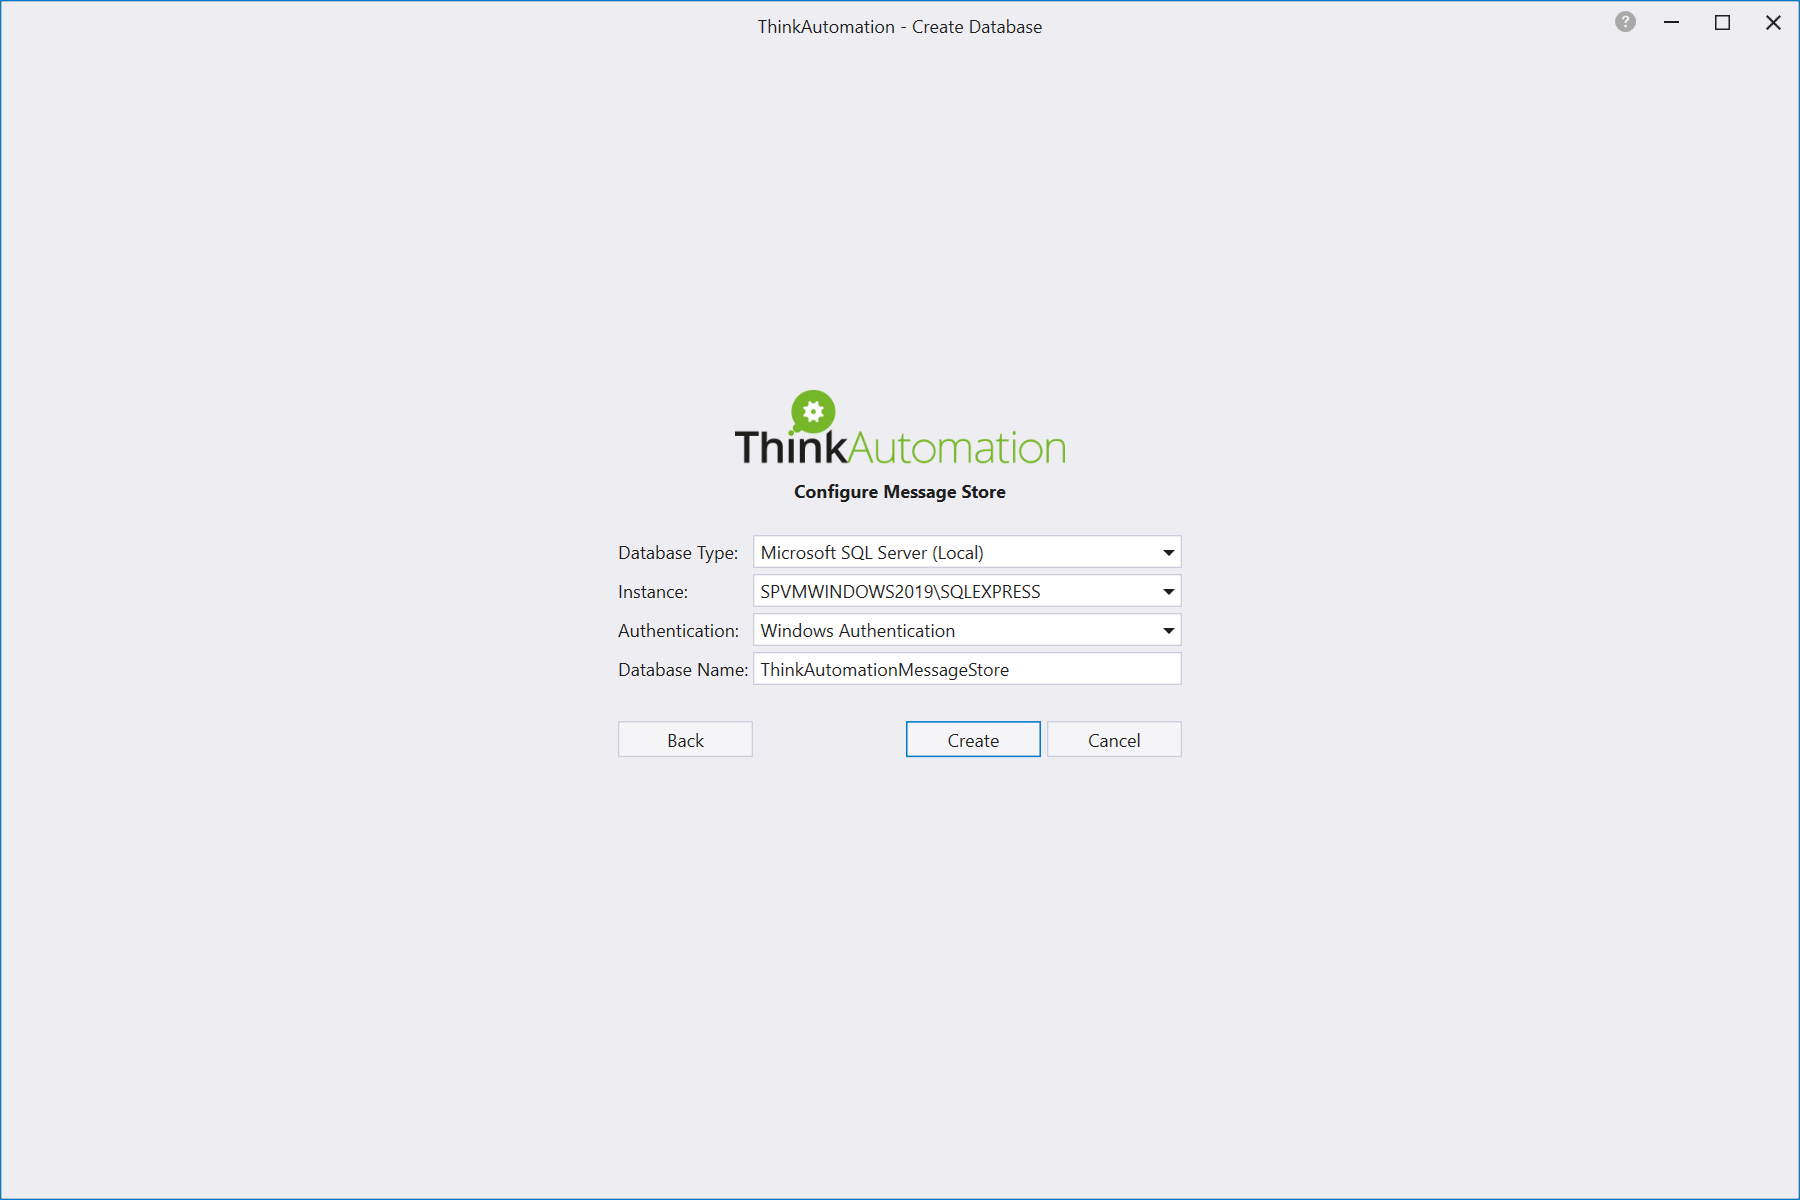
Select the Database Type (Microsoft SQL Server, MySQL or MongoDB). Depending on the database type you must enter the Instance/Server Address and any Authentication.
Click Create to create the database.
Note: The Database Server must already be running. For ease of implementation can can use Microsoft SQL Server Express (free). Install SQL Server Express on the same computer as ThinkAutomation (Note: SQL Server Express has a limit of 10GB per database).
Logging In
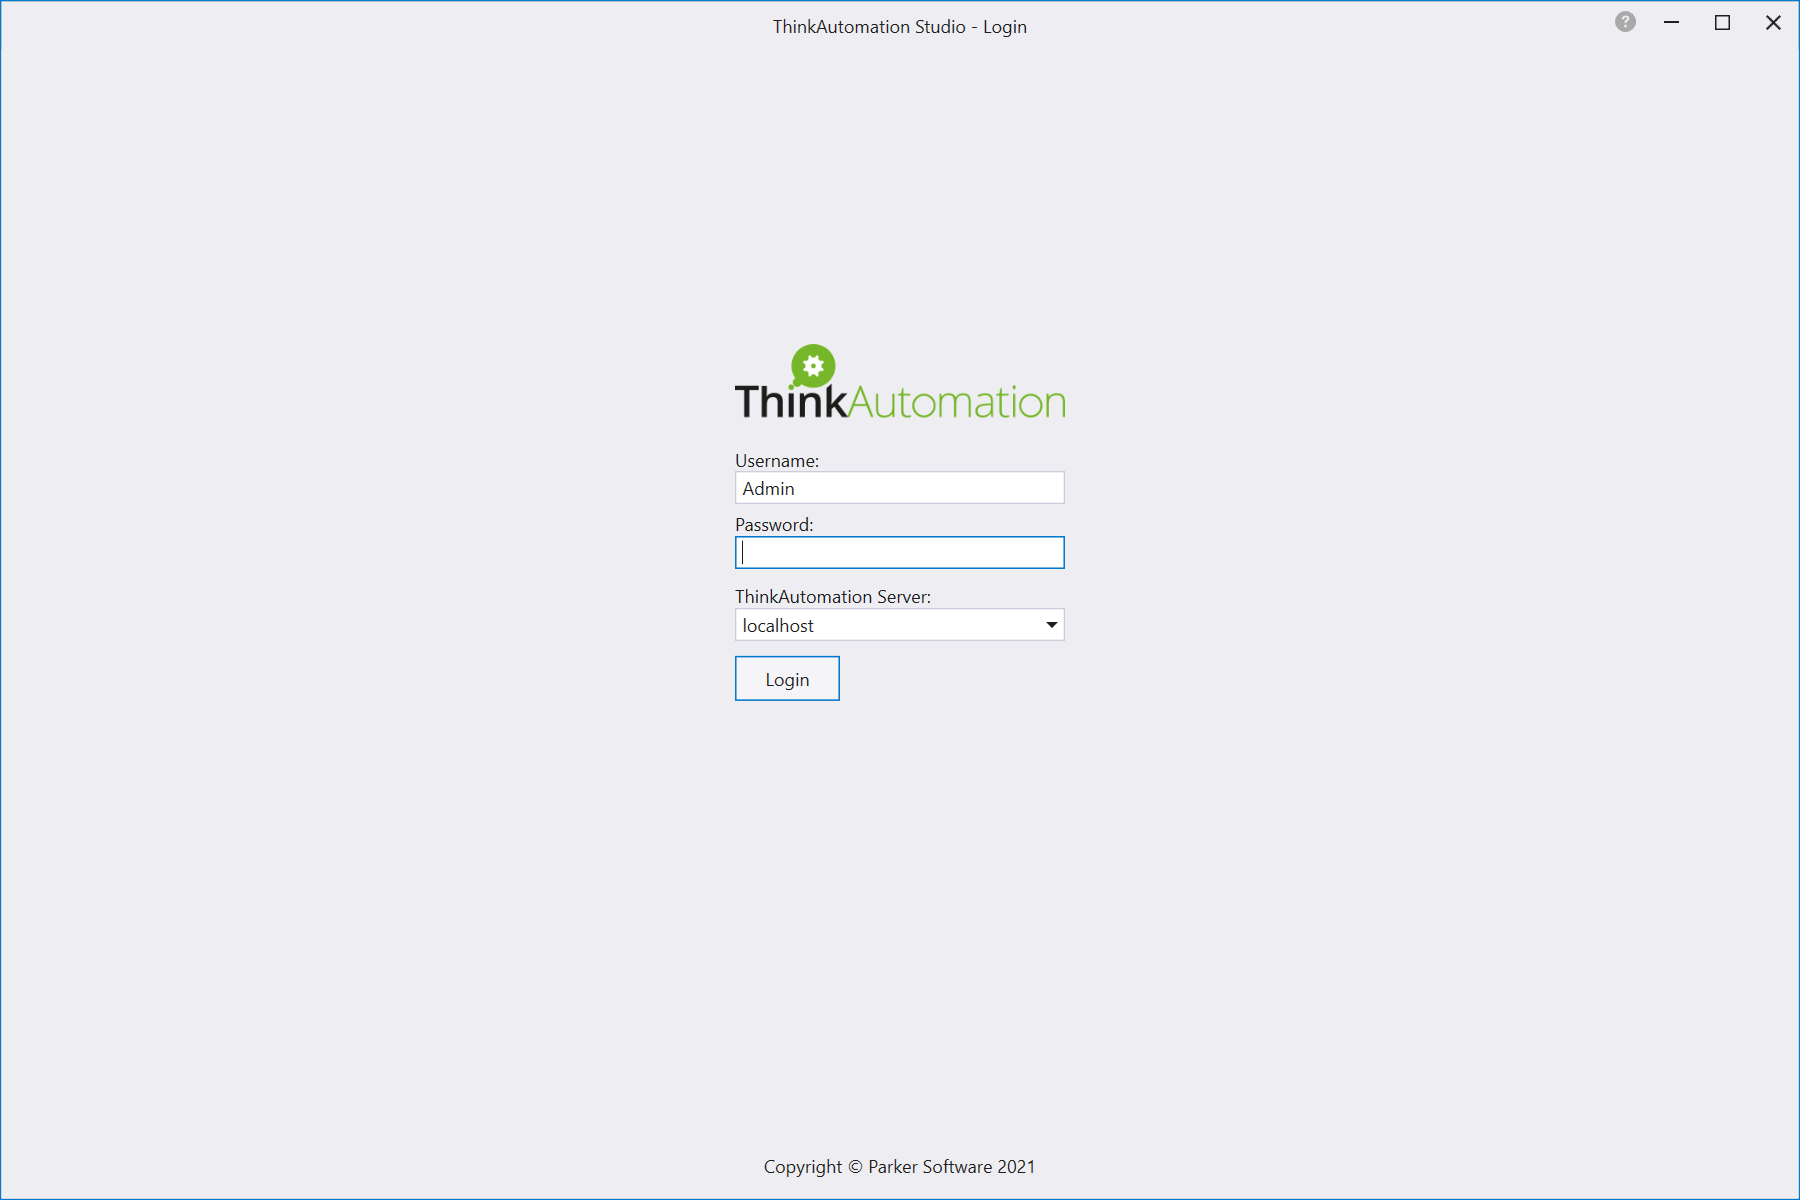
You can now login and start using ThinkAutomation.
Enter the Password you chose earlier and click the Login button.
Creating Your First Message Source And Automation
A default Solution will have been created. The Solution Name will be the Company Name you used during registration. This Solution will be selected by default when you login to the Studio for the first time.
A Message Source defines how ThinkAutomation will receive messages to process. You can create any number of Message Sources to read messages from various sources. Each Message Source is connected to an Automation. When a message is received the message content is passed to the assigned Automation for processing. Individual Message Sources can be enabled/disabled or paused.
When you login to the ThinkAutomation Studio for the first time, the New Message Source Wizard will be shown:
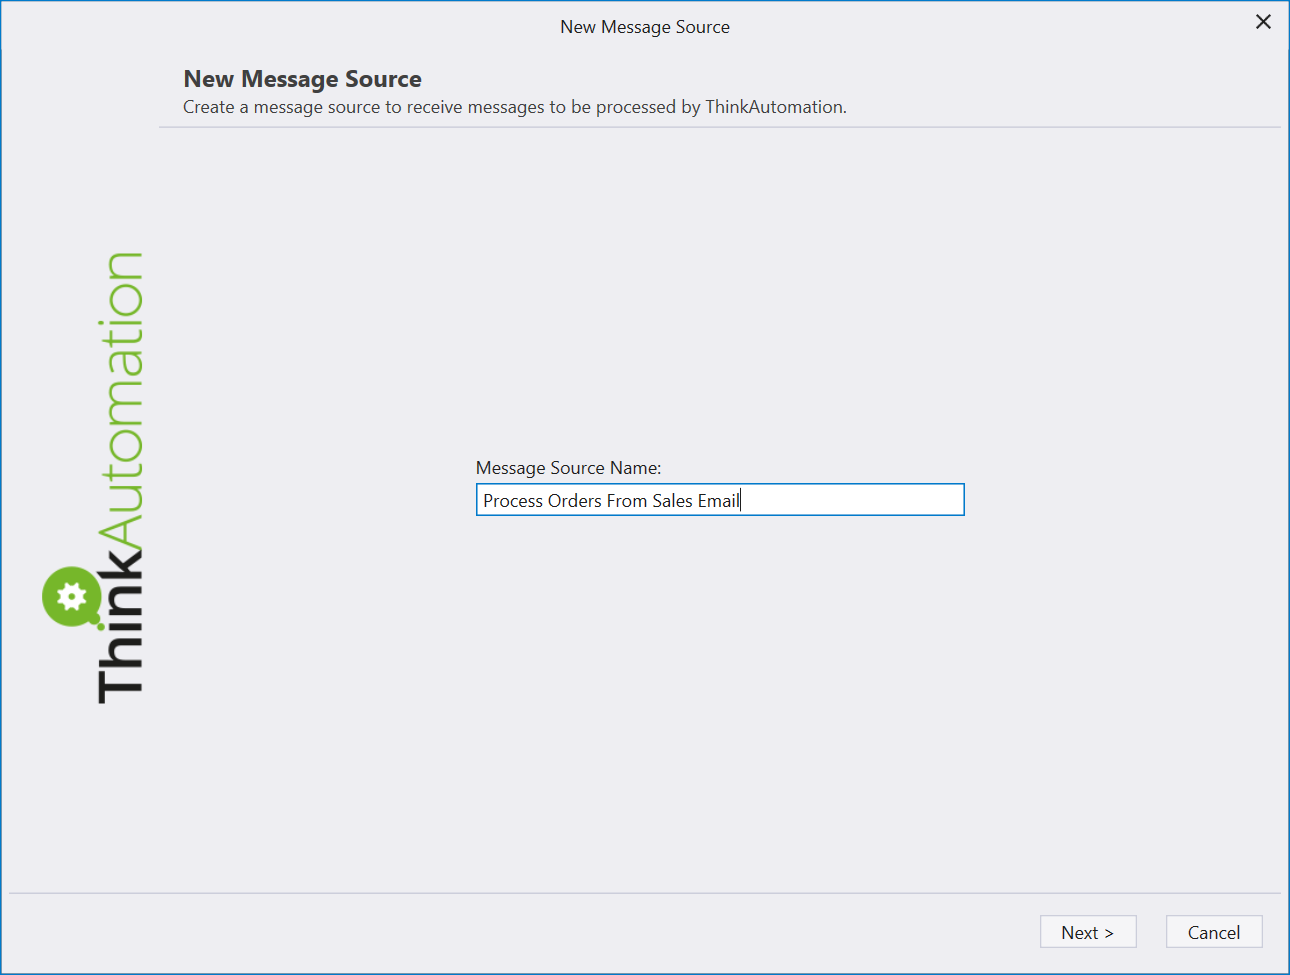
Enter the Message Source Name and click Next >
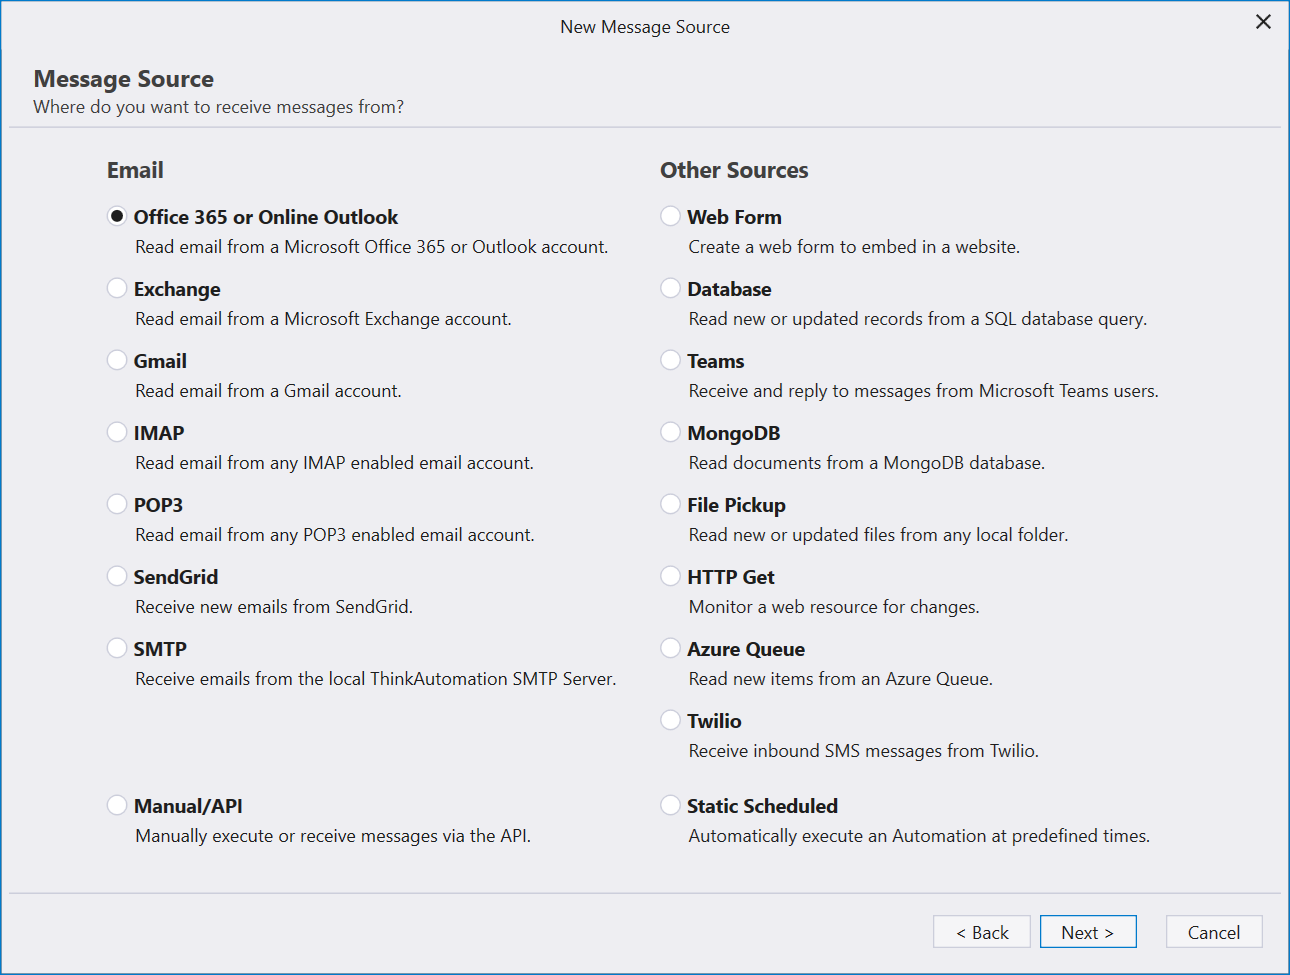
You must now select the Message Source type. Options for each of the various message source types are detailed in the main ThinkAutomation help document.
In this example, we will choose Office 365.This Message Source type will read emails from any Office 365 account. As each email is received an Automation will be executed.
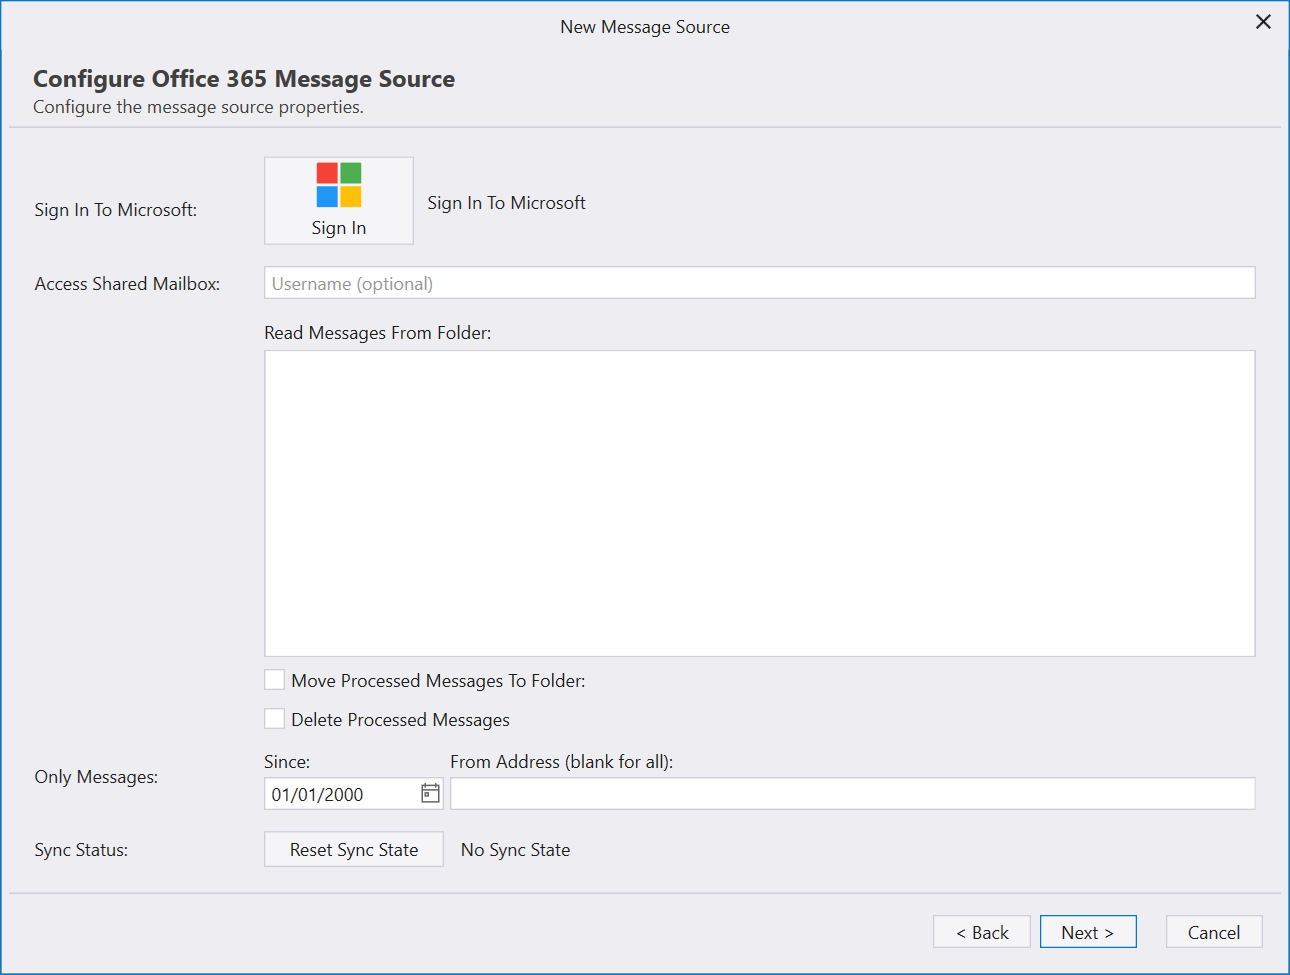
Click the Sign In button to sign-in to Office 365. Select a folder from the Read Messages From Folder list.
You can optionally Move Processed Messages To Folder and Delete Processed Messages.
The Only Messages option enables you to only process messages since a given date and from specific From Addresses. Leave these entries as is to process all messages.
Click Next >
Message Source Schedule
The Message Source Schedule defines how often ThinkAutomation connects and retrieves new messages:
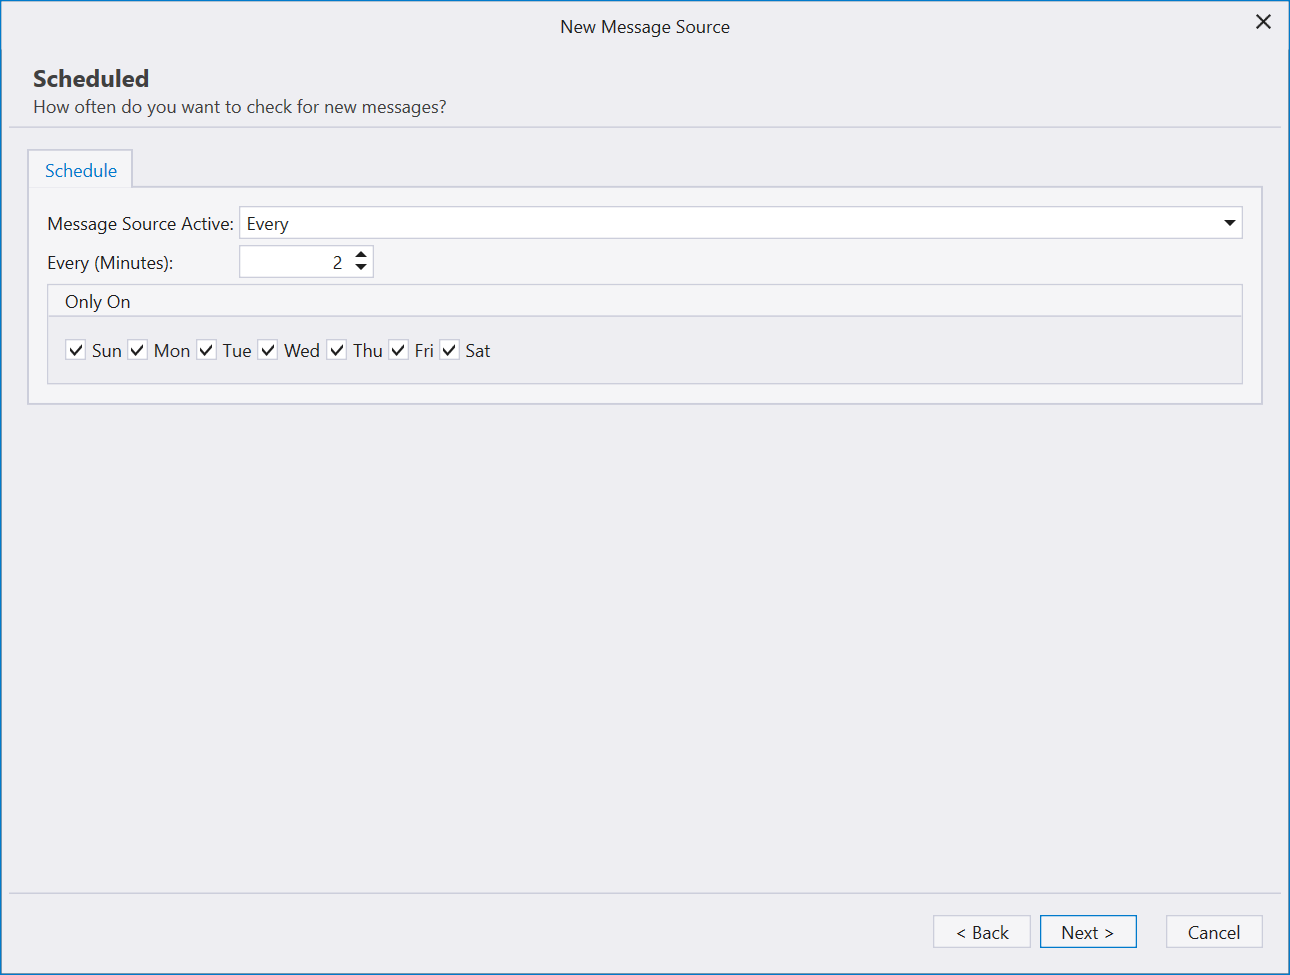
It defaults to every 2 minutes. Some Message Source types (File Pickup, Web Form, Teams, Twilio, SMTP, & API) do not require a schedule since any new message received via these methods will be processed immediately.
Click Next >
Select Automation
When a message is received by the Message Source the message content is passed to an Automation for processing.
When you create a new Message Source you can select an existing Automation to create a new one:
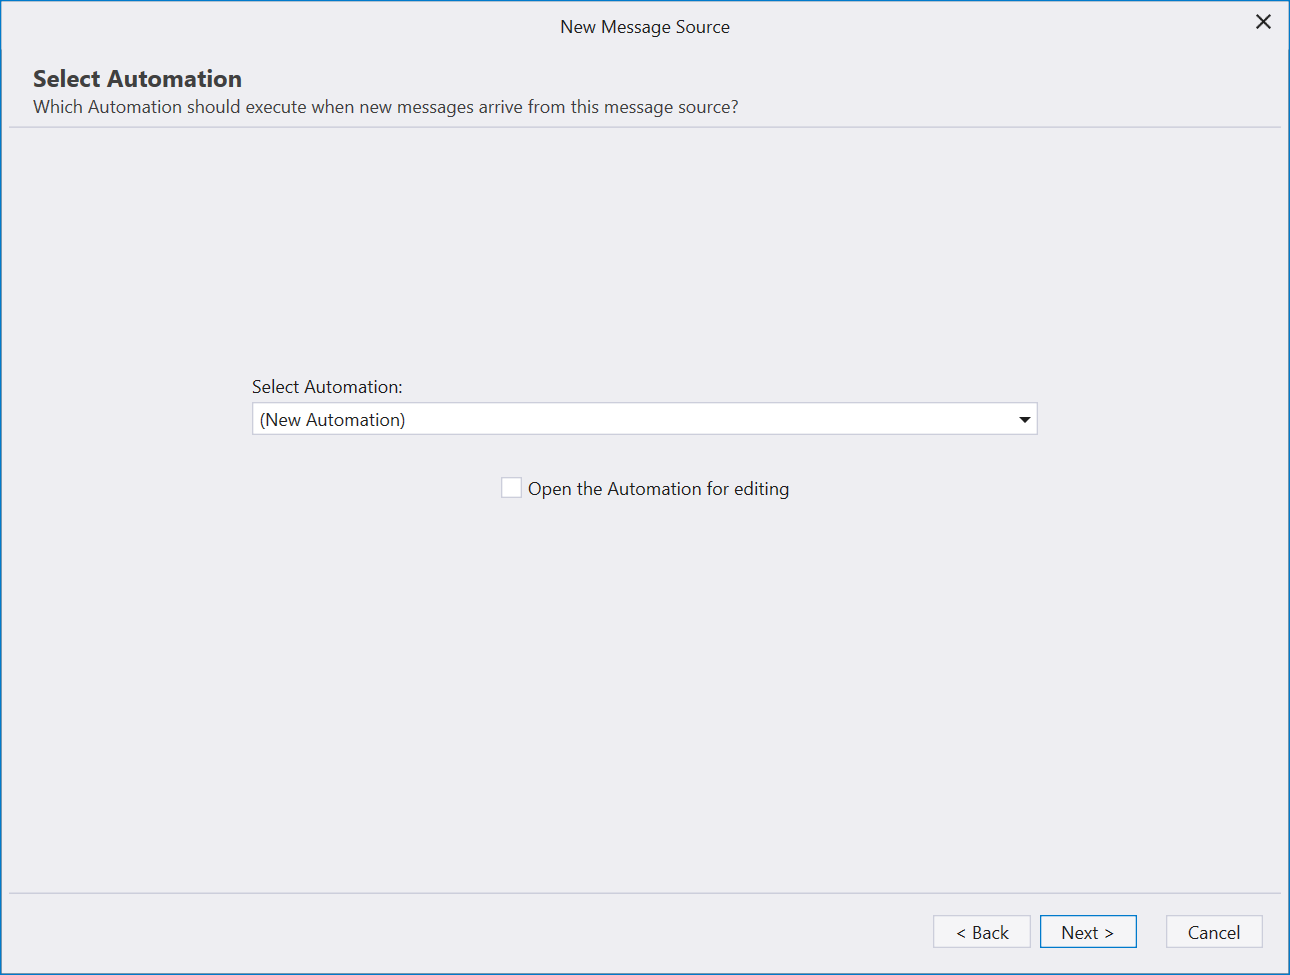
If (New Automation) is selected in the Select Automation list then a new blank Automation will be created when the new Message Source is saved.
Click Next >
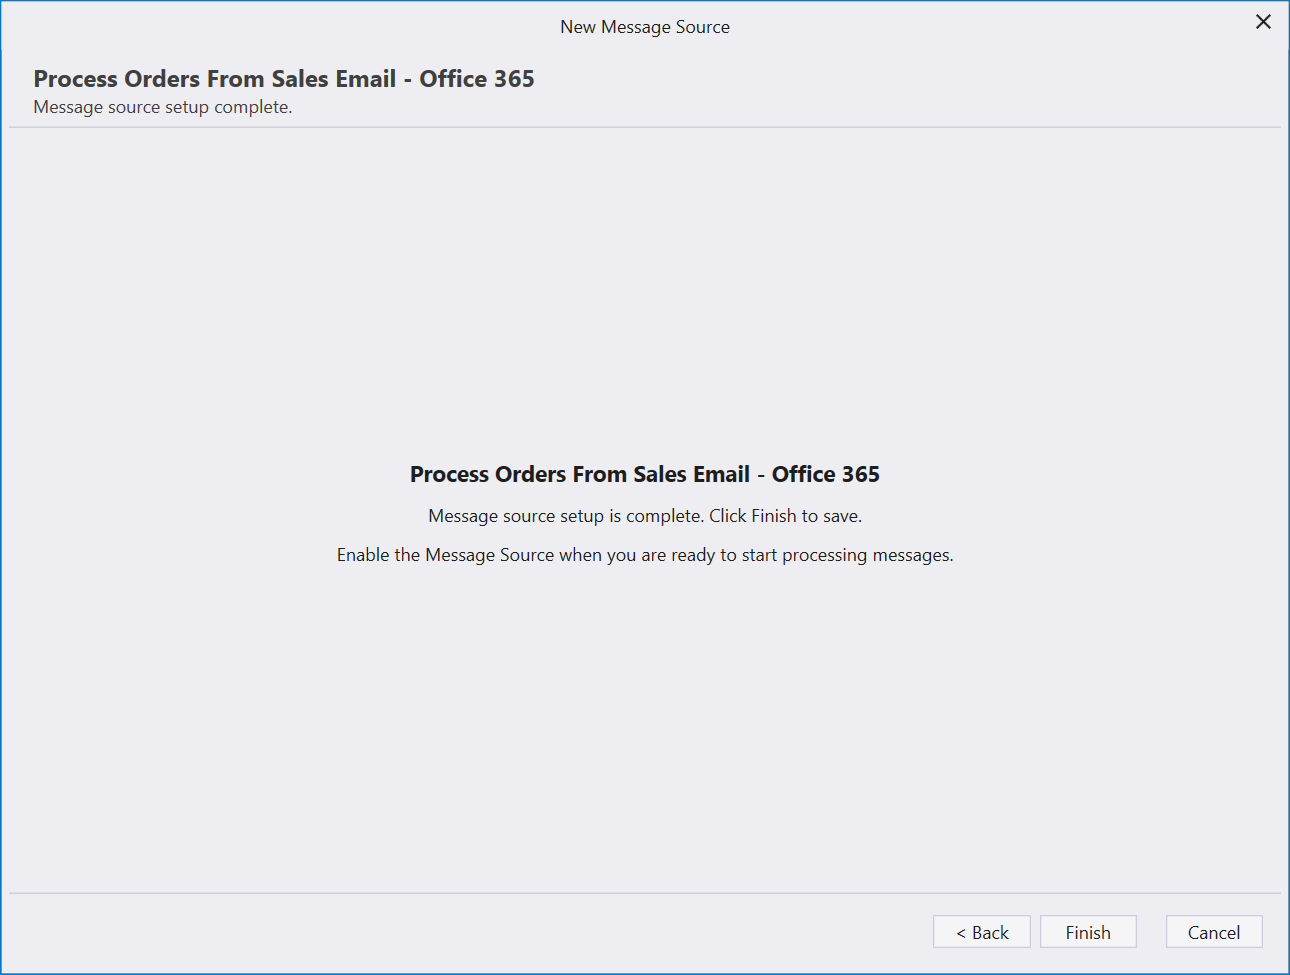
The Message Source is now ready to be saved. Click Finish.
The new Message Source and Automation will then appear in the Explorer:
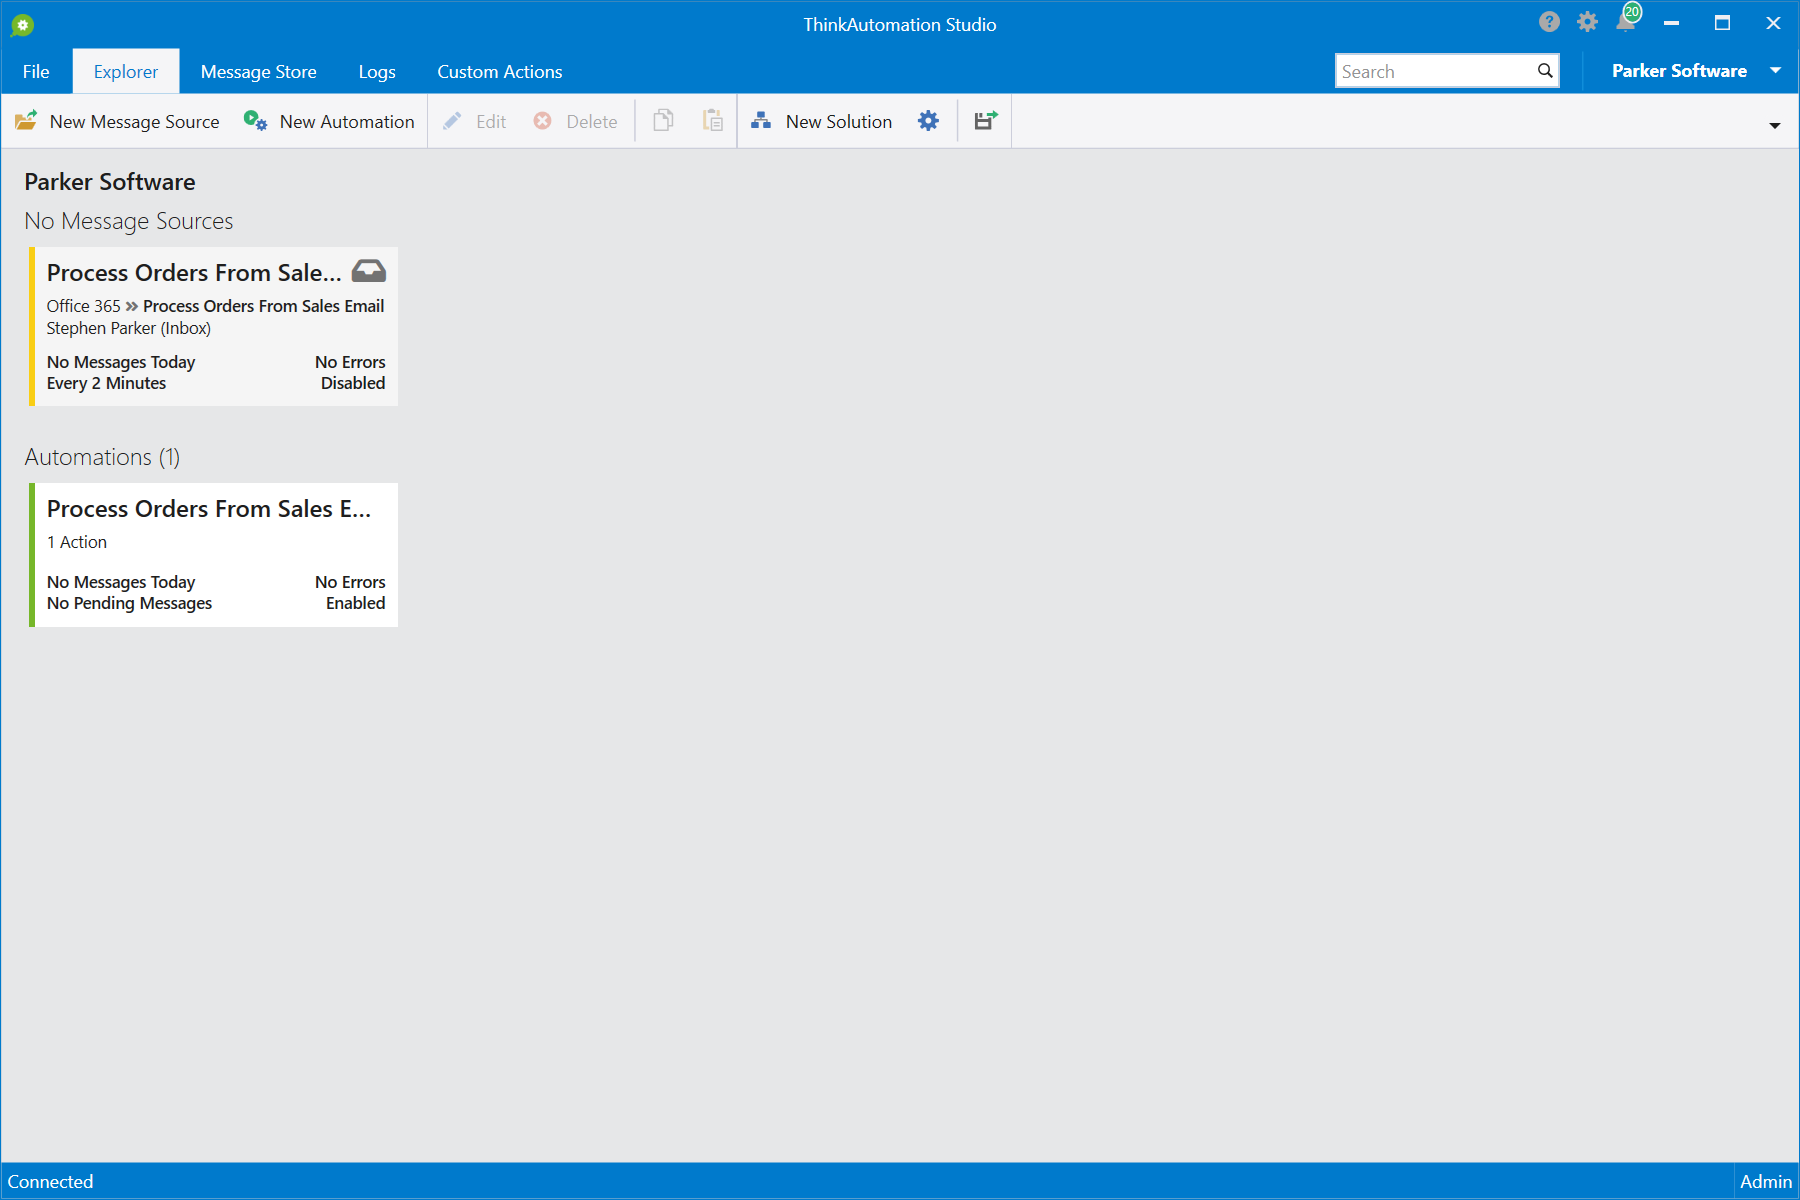
When a new Message Source is saved it will be disabled by default. This is so that you can complete your Automation steps before messages are received.
The Explorer shows Message Sources and Automations within the Solution. Double click either to edit, or select and click Edit on the ribbon.
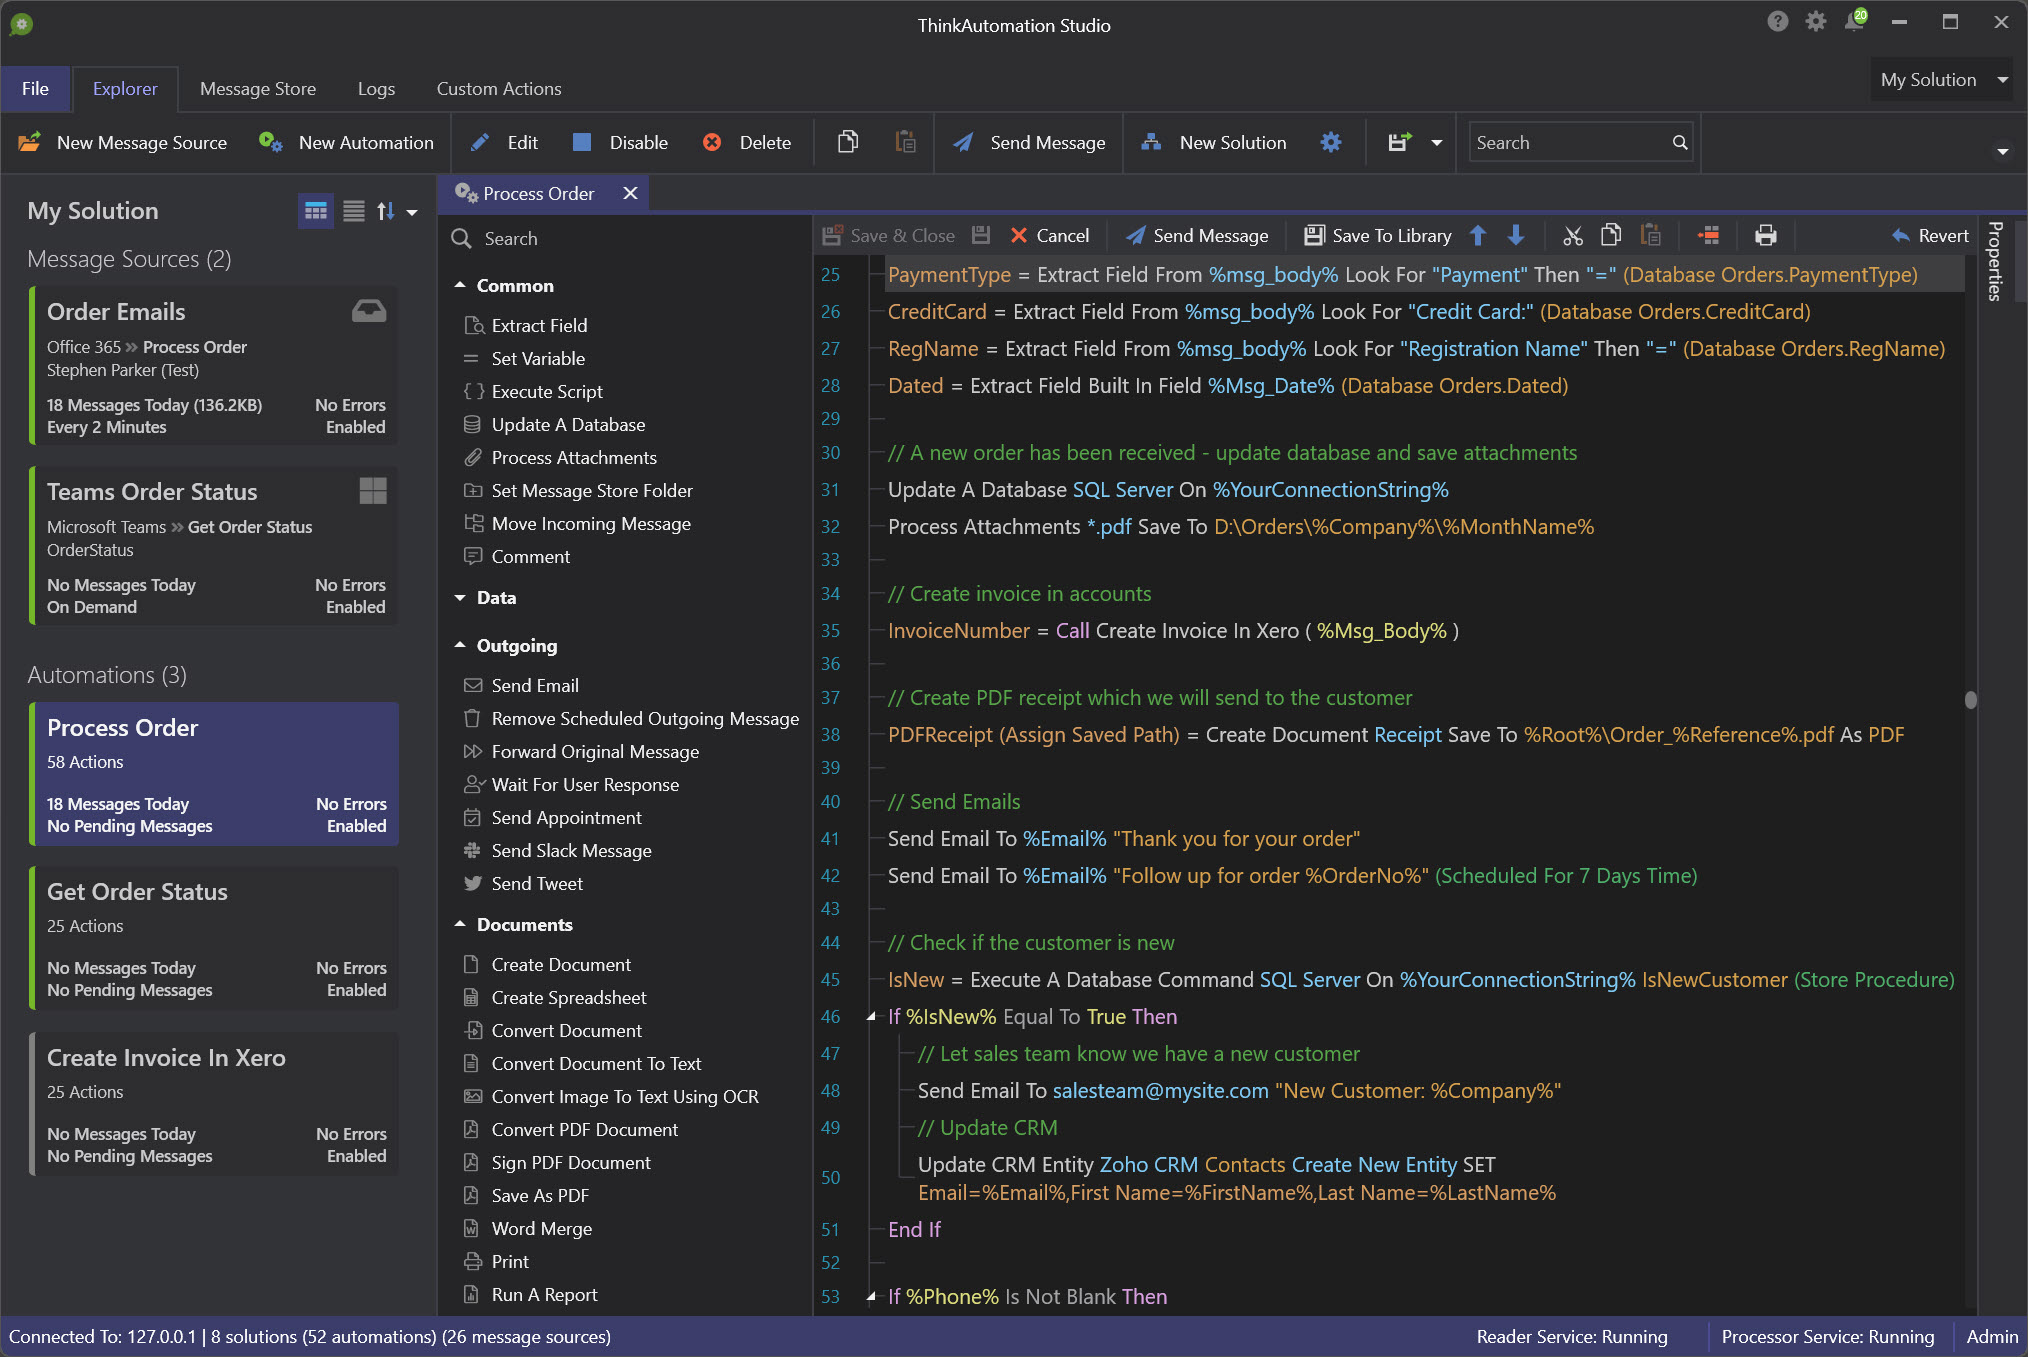
Editing The Automation
In the Explorer - Automations section, double click the new Automation to open the Automation editor:
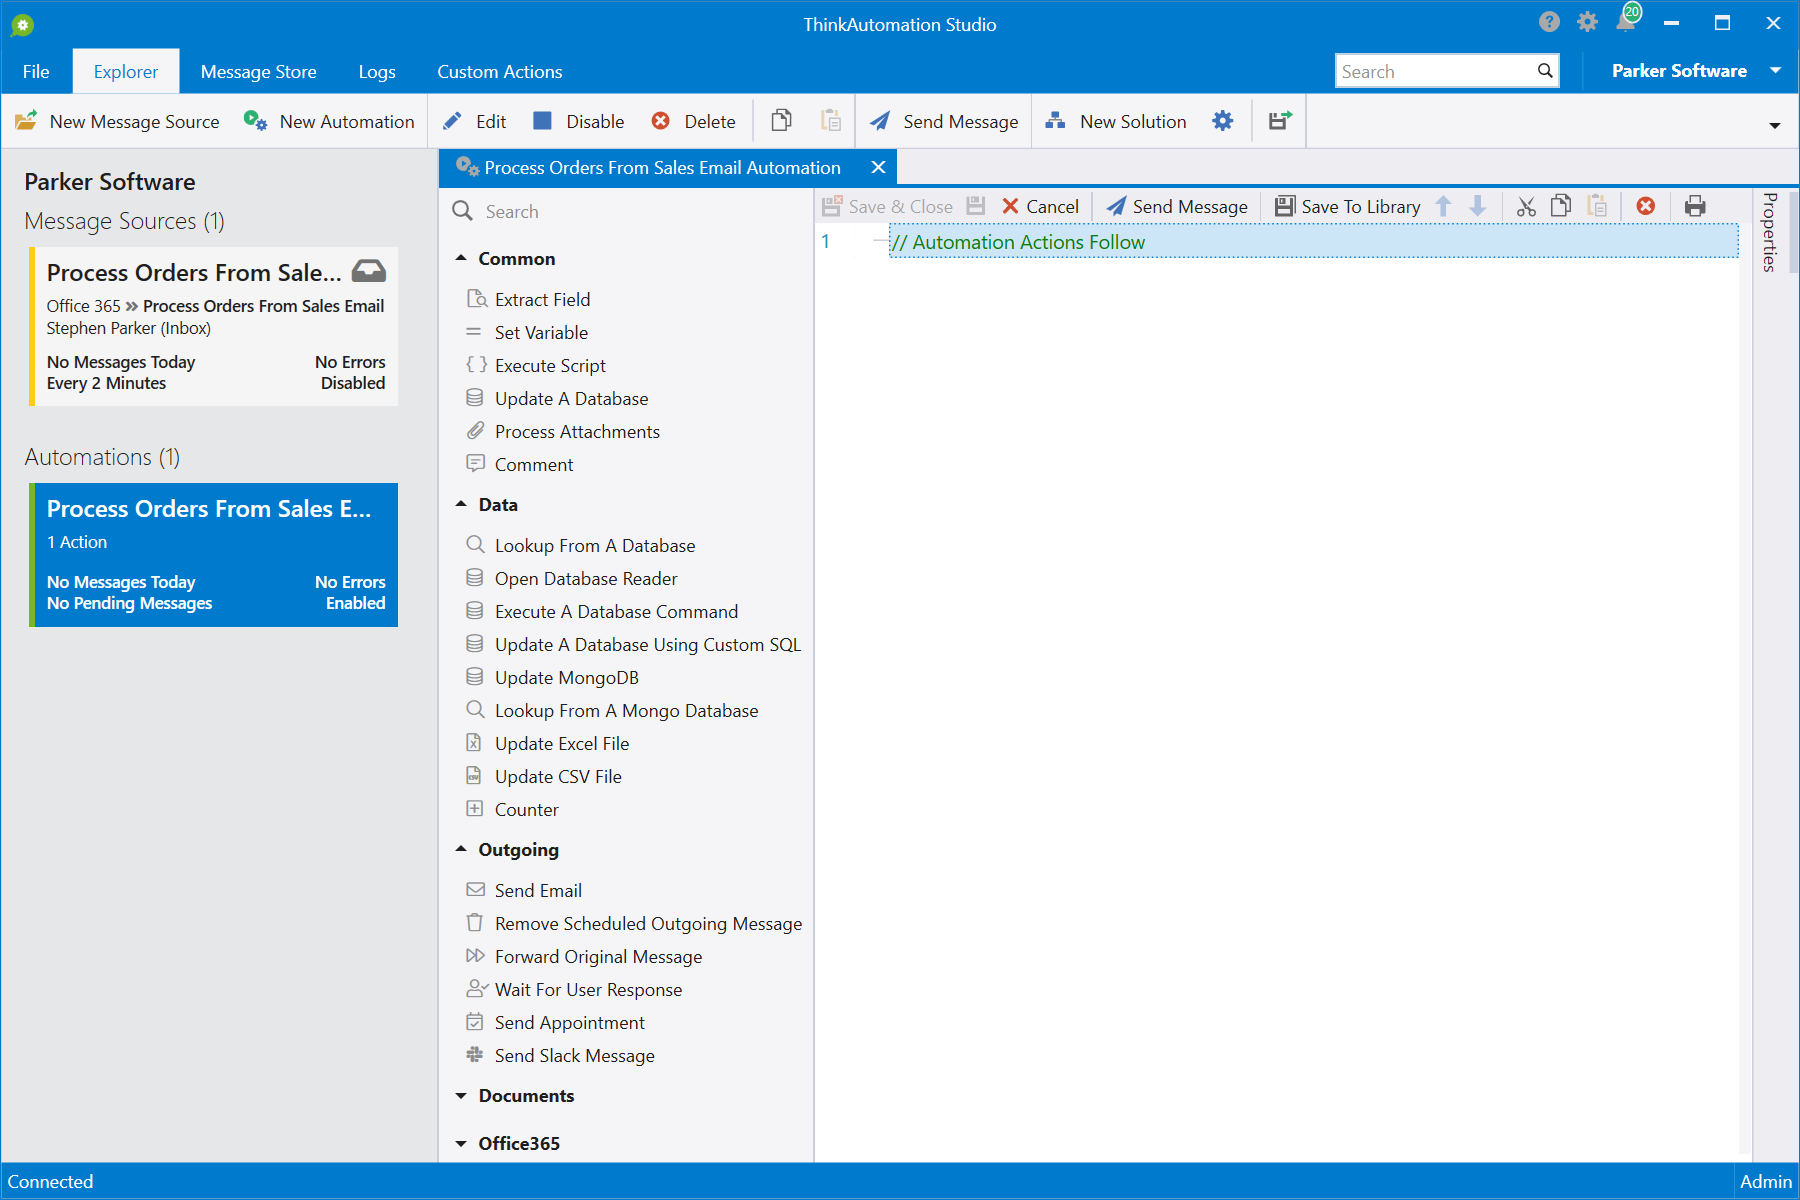
An Automation can contain any number of Actions. Each of the actions are optional. You can run one or more of the actions depending on your requirements. You can add multiple instances of each action type - so for example, you can send multiple Outgoing emails by adding multiple Send Email actions.
You can drag Actions from the Actions toolbox over to the Automation to start building out your Automation steps. You can also just start typing the Action name. Refer to the ThinkAutomation Help document (click the ? button on the title bar) for further details.
When you add an action the corresponding property page for the action type will be displayed. To edit an existing action double-click it or press ENTER.
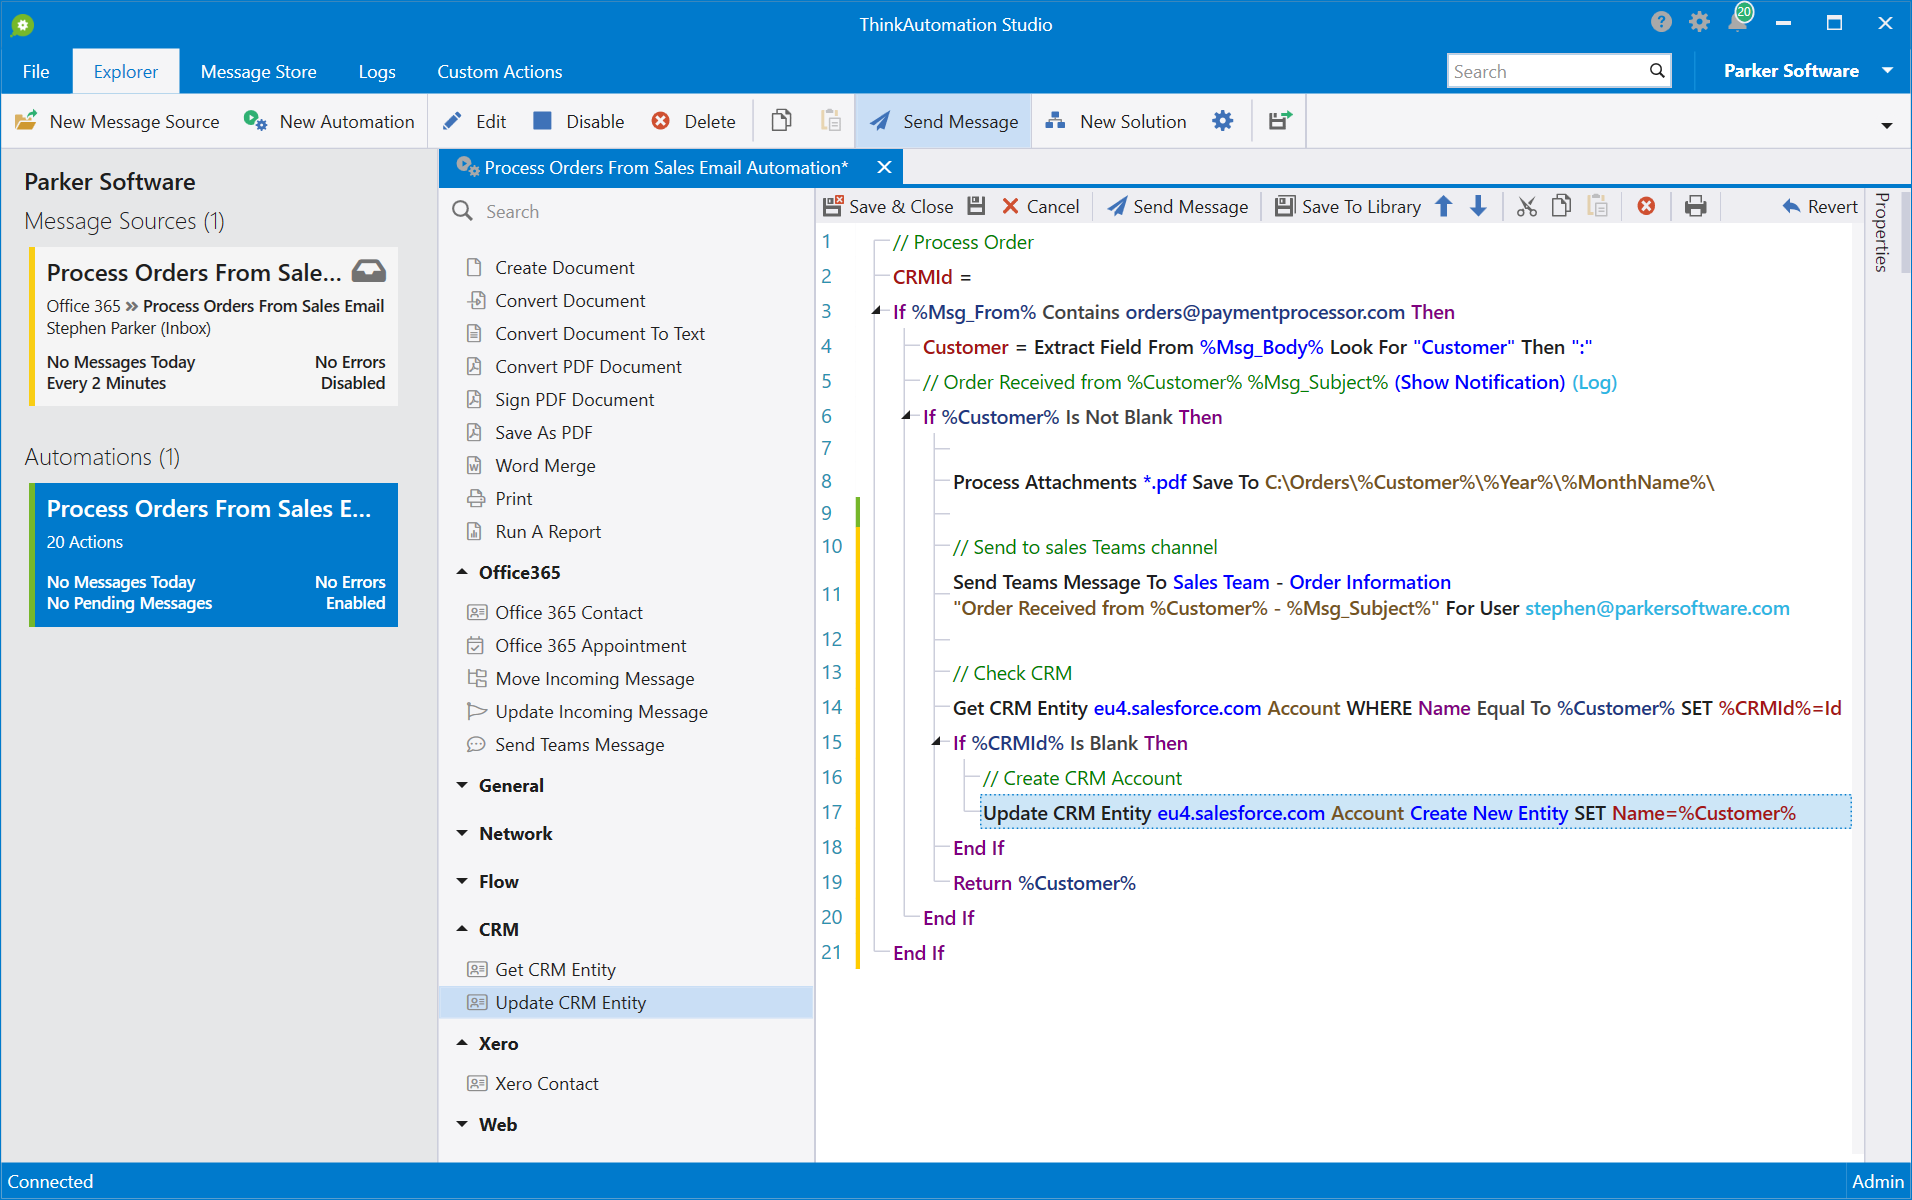
When editing an action property page, each action property that accepts text data can include %variable% replacements. Drag a %variable% from the variables list on to the property or type the %variable% name. These %variable% holders will be replaced with the Extracted Field, Variable, Built-In Field or Constant value when the Automation executes.
When a Message is processed the actions will be executed in the order they appear in the Actions list. You can re-order actions using Move Up/Move Down buttons.
You can create If [else] End If or Select Case blocks to conditionally execute blocks of Actions and you can assign a Condition to each action.
When you have completed your Automation, click the Save & Close button.
Testing The Automation
During Automation development you can test your Automation without enabling the Message Source. Click the Send Message button on the Automation actions list toolbar. Enter the message text and click Send. You can also drop files onto the send message textbox. Any .eml or .msg files will be converted to emails and sent. Any text files will be converted to message text. Any other sort of files will be added as attachments and sent.
The test message will be processed immediately. The Results and Automation Log will be displayed along with any errors and Comment action values.
Use the Comment & Return actions to provide feedback. Comments can include %field% replacements, so if you need to see the value of a variable - simply add a Comment action containing the %fieldname%.
The Automation %Return% value will also be displayed if you have added any Return actions.
Enabling The Message Source
When you have completed your Automation you can enable the Message Source to start processing actual messages.
Select the Message Source in the Explorer, right-click and choose Enable.
Messages will then start to be received and processed. You can also disable any Message Source to pause processing.
Viewing The Message Store & Process Logs
Click the Message Store tab on the ribbon.
A list of Automations will be shown for the currently selected Solution. Select an Automation to view processed messages. Double-click any message to view the detail (along with the Automation log).
Closing The Studio
You can exit the ThinkAutomation Studio at any time. ThinkAutomation will continue to process messages in the background for any enabled Message Sources.
Installing The ThinkAutomation Studio On Other Computers
You can install and use the ThinkAutomation Studio on any remote computer that can access the ThinkAutomation Server.
Run the ThinkAutomation.exe setup on the other computer.
When the ThinkAutomation Node Configuration starts after installation, select Studio Only.
Start the ThinkAutomation Studio and set the ThinkAutomation Server to the IP Address or computer name of the ThinkAutomation Server computer.
The ThinkAutomation Desktop Connector Application
The ThinkAutomation Desktop Connector is a stand-alone application that you can install on multiple computers on your network. The number of ThinkAutomation Desktop Connector users that can connect to your ThinkAutomation Server at the same time depends on your license.
The Desktop Connector is used to send messages, files and Microsoft Outlook messages to Automations for immediate processing. The results of the Automation will be displayed. The Desktop Connector cannot be used to edit Automations or make any other configuration changes.
Users can select an Automation and send messages to be processed. Users can also drag and drop email messages, Outlook messages, text files or attachments on to Automations inside the Desktop Connector. These will be sent to ThinkAutomation for immediate processing.
The Desktop Connector is installed as part of the main ThinkAutomation Server installation. A separate stand-alone Desktop Connector installer is available on our web site.
Detailed Help
See: ThinkAutomation Help
Examples
Contact Information
| Parker Software Limited UK | Parker Software Inc USA |
|---|---|
| Victoria Business Park, Prospect Way, Stoke on Trent, Staffordshire, ST8 7PL. United Kingdom. | 4767 New Broad Street, Baldwin Park, Orlando, Florida, 32814. United States. |
| Tel: (UK) 0330 0882 943 | Tel: (USA) 800 680 7712 |
Email Sales: sales@parkersoftware.com, Support: support@parkersoftware.com
Copyright (c) 2022 Parker Software Limited.